DIY Camera Backpack - An inconspicuous & affordable camera bag


These days I'm getting ready for a trip I'll be taking to Europe. I'll be traveling through Germany & France, and wanted the perfect camera bag to take with me. I won't be taking a ton of gear, mainly one body (my Nikon D780), and one lens (Nikkor 24-70 2.8), as well as a portable hard drive & card reader to dump images onto. I wanted to find a low key bag that looks stylish, is comfortable, and can safely carry my gear with a little extra space.
I have several bags already, that I do indeed love. I have a great shoulder bag by ThinkTank called the Retrospective that is one of my favourites. However, on long days, a shoulder bag is uncomfortable, and just not practical, though this bag is inconspicuous as a camera bag (which I love) and holds a ton of gear.
I also have a great backpack by Tarion that holds a LOT of gear, and is very comfortable, but screams out CAMERA BAG to anyone looking. While I do bring this one on assignments when I need to bring a lot of gear, it isn't what I want for this trip, which will be more casual.
My other favourite bag is the Photo Sport 200AW by Lowepro. This bag is what I use in the backcountry. Very comfortable, it is meant for hiking, skiing, or other off-the-beaten-path type activities. Carries a hydration bag, a small amount of camera gear, with extra space too. Unfortunately, the one I have is bright orange, which, is the complete opposite of subtle.
So what to do? I looked high & low online. I saw some amazing bags, the nicest being the Peak Design Everyday backpack, which is exactly what I was looking for. Stylish, functional, & well-built. I thought long and hard about it, but the one reason I didn't jump on purchasing it...the price tag. It is US $280. Add shipping & taxes, I'd be spending a lot of $$$ on this beauty. Sure, I would love it, but I just couldn't justify it.
My solution? DIY.
I decided that maybe I could put something together to suit my needs. First, I had to find the right bag...
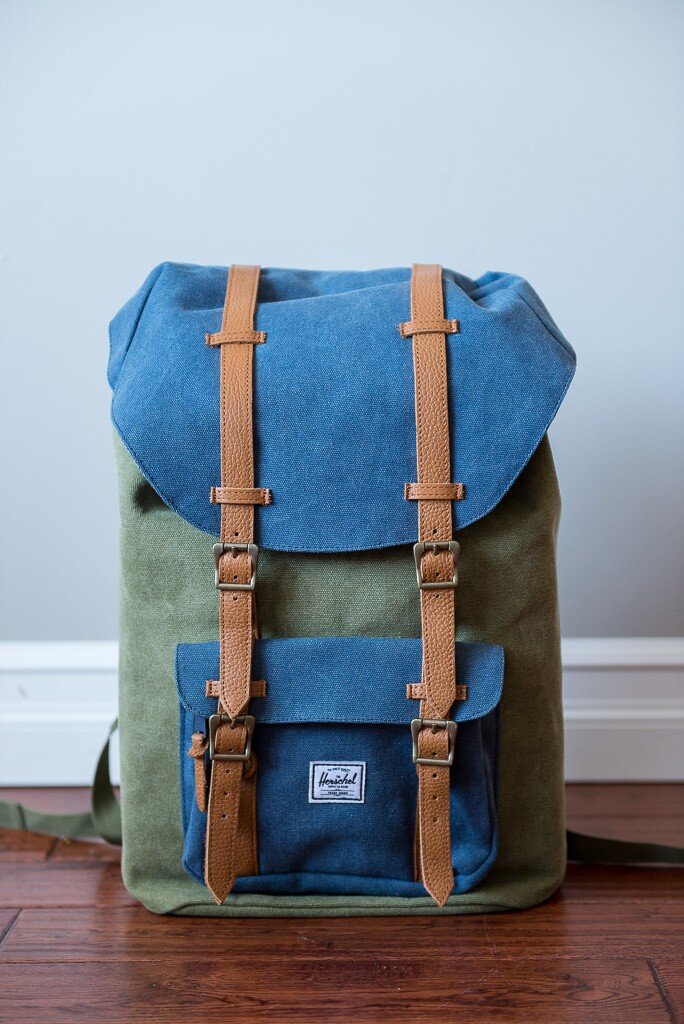
I wanted a good-looking canvas-type backpack with comfortable straps. I looked all over, and by chance, someone mentioned to me that a local skate shop called Cheapskates had some in stock that I might like. I headed down and there I indeed found a good selection of Herschel Supply Co. backpacks. The one that I liked most was the Little America 24L Canvas backpack. I checked it out, and it looked promising. The size looked about right, the straps were comfortable, and it looked great. Importantly, it wasn't too expensive either. They retail for around $80-150, depending on the model. I noted the inside dimensions, and told the owner I'd hopefully be back to buy after I checked on the next part of my plan... A camera bag insert.
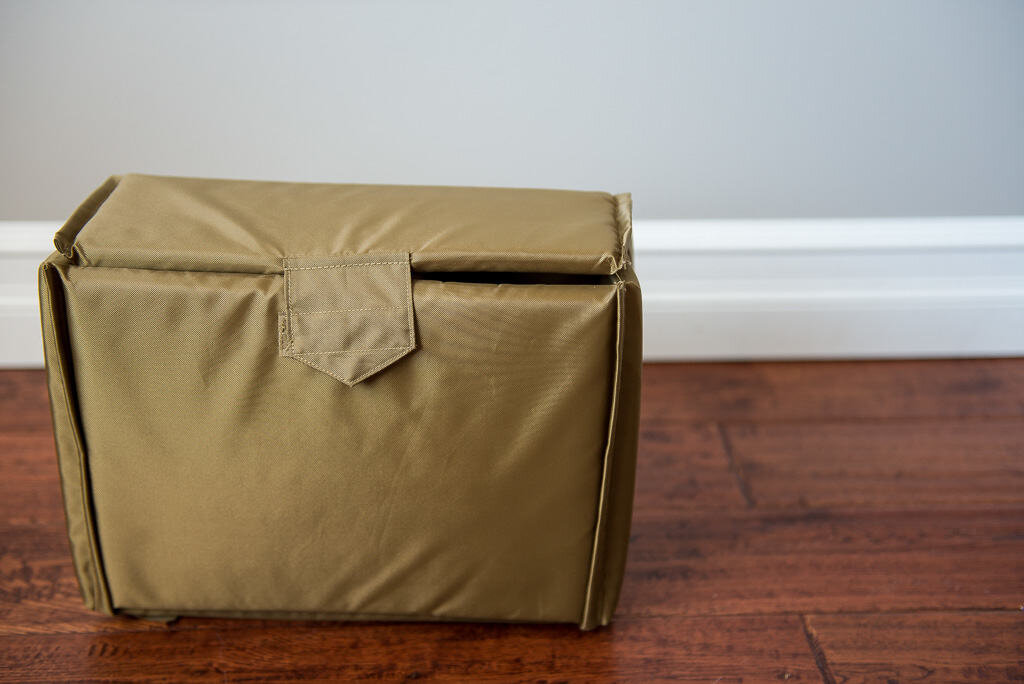
It is easy to find various sizes of inserts with adjustable padding to turn any bag into a camera bag. I found one that was a perfect match to the Herschel bag I was looking at, and it was only $30.
A quick online search, and you can find several padded inserts. Just be sure to get the right size insert for your bag.
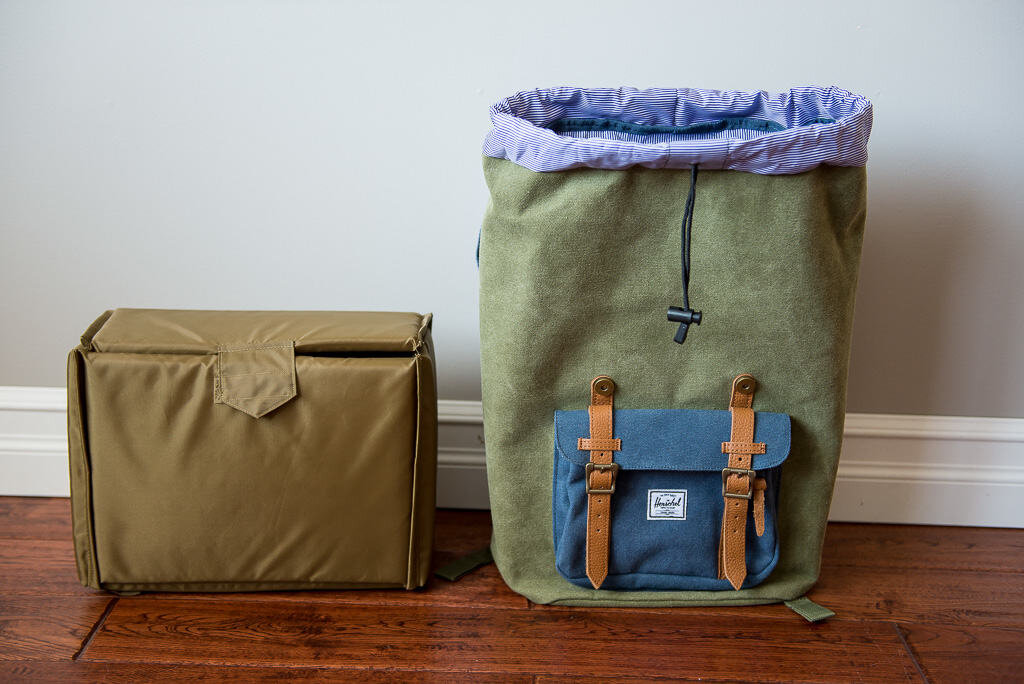
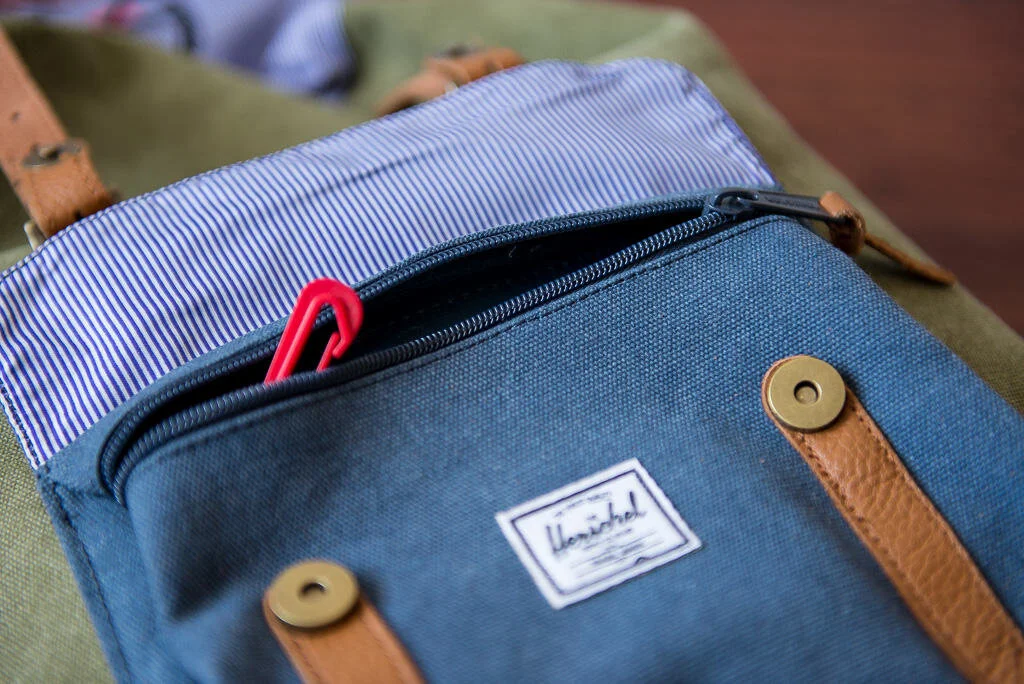
I promptly ordered the insert, and back to Cheapskates I went, to purchase the Herschel backpack. When the insert came in, I installed it into the Herschel bag, and it fits quite nicely. I'm able to fit all the gear I need and even have extra room for a sweater, light jacket, or any other items I might want to bring along on my excursions. The whole kit cost under $175, which is a big savings compared to what I would have put down for the Peak Design backpack. The bag carries nicely, and most importantly, looks very inconspicuous. There is a media sleeve for a laptop in the bag, not that I'm bringing one on this trip, but it is a nice feature. The front pouch is zippered, with a key clip inside. The top flap has adjustable leather straps, that easily close with magnetic clips. Under the flap there is a drawstring closure as well, so it is quite secure. There is even a media pocket for a phone on the inside, with a port for your headphones to slip through. All in all, I am very happy with the bag, and this setup. It is a good looking backpack, that doesn't look like a camera bag, and can carry just what I need for this trip. Sometimes when you can't find what you need, you just have to do it yourself!
***UPDATE:
I wrote this post back in 2014, and I am still using this bag all the time! Same bag, same insert. The canvas is a bit faded, but otherwise everything is holding up great! I had to replace one magnetic strap clip, and was able to get a local shop that does leather & shoe repair to fix it for me.
I've had folks ask me about the ability to load a tripod in this bag. It doesn't really work for a regular tripod to be honest. But I do have a small travel tripod, and a Gorillapod that work. I use this bag for day excursions, where I'm not likely to need one anyways.
Nowadays, I travel with either a Leica M10 or a Fuji Mirrorless camera which are light & small compared to the Nikon DSLR I lugged around in Europe in this bag. And on that note, if you want to carry a lot of lenses & camera gear, this isn’t a good solution. If like me, you like to bring one camera & lens, with lots of extra room, then this is a great solution.
And by the way, if you want the best backup solution for your images while travelling, then check out my post about the WD MyPassport Wifi. You can leave your laptop at home with this amazing little device!
Well I hope you enjoyed my post about my DIY camera backpack. I would love to hear from you if you have any ideas like this that you have tried, or want to try.
Happy travels!