How to Back Up Photos While Travelling — No Laptop Needed

Travel Photography · Gear
Back up your photos on the road. No laptop needed.
I travel light. When I board a plane I have two bags: a carry-on duffel with clothes, and a small camera bag that fits under the seat. No laptop. That means I need a backup solution that's compact, reliable, and doesn't add complexity to an already full kit.
The dedicated all-in-one backup drive I used to recommend — the WD My Passport Wireless SSD — has been discontinued. So has most of the category it belonged to. The good news: what replaced it is simpler, cheaper, and more flexible. Here's the current method first, followed by a condensed review of the old drive for reference.
This post contains affiliate links. If you purchase through them I may earn a small commission at no extra cost to you.
Your phone, a hub, and an SSD.
No dedicated backup device needed. Your smartphone becomes the bridge between your SD card and a portable SSD — using nothing but a USB-C hub with an integrated card reader and the Files app.
The hub is the key piece. You need one with an integrated SD card slot so you're not carrying a separate reader. It needs to accept power input — either via a second USB-C port or USB-A — so you can plug in a power bank while transferring. This keeps your phone charged and powers the hub for longer sessions.
Any portable SSD will work as long as it's formatted in ExFAT — the format both iPhone and Android can read and write to without issues. The SanDisk Extreme is the most popular choice: fast, compact, and widely available. The Samsung T7 is equally good and slightly slimmer.
The hub must be externally powered to run the SSD — your phone alone cannot supply enough power for both the hub and the drive. You have two options: plug the hub into a wall outlet using a USB-C charging adaptor, or connect a power bank to the hub's power input port. The power bank option is ideal when travelling — no outlet needed. If your hub doesn't have a dedicated power input port, look for one that does — a powered USB hub solves this completely.
Five steps. No computer.
-
01
Power the hub and connect to phone
The hub must be externally powered — plug it into a wall outlet using a USB-C charging adaptor, or connect a power bank to the hub's power input port. Then connect the hub to your iPhone or Android phone via USB-C. The hub will not run the SSD on phone power alone.
-
02
Insert SD card and SSD
Slide your SD card into the hub's built-in card reader. Plug your portable SSD into one of the hub's USB ports. Both should appear in your phone's Files app within a few seconds.
-
03
Open Files app
On iPhone, open the native Files app. On Android, use Google Files or your manufacturer's file manager. You'll see the SD card and SSD listed as separate locations under Browse.
-
04
Copy from card to SSD
Navigate to the SD card folder. Long-press to bring up the context menu and tap Copy. Navigate to the SSD, long-press on empty space, and tap Paste. The transfer runs in the background — you can lock the screen while it works.
-
05
Verify and eject safely
Once the transfer completes, confirm the files are on the SSD before doing anything else. Eject both drives through the Files app before physically removing them. Format your card in-camera when you're ready to shoot again.
Your SSD must be formatted in ExFAT — not NTFS or Mac OS Extended — to be readable and writable by both iPhone and Android without issues. Most drives ship in this format, but it's worth confirming before you leave.
Your phone, a hub, and a drive. Everything you already carry — doing the one job you thought you needed a laptop for.
On the current method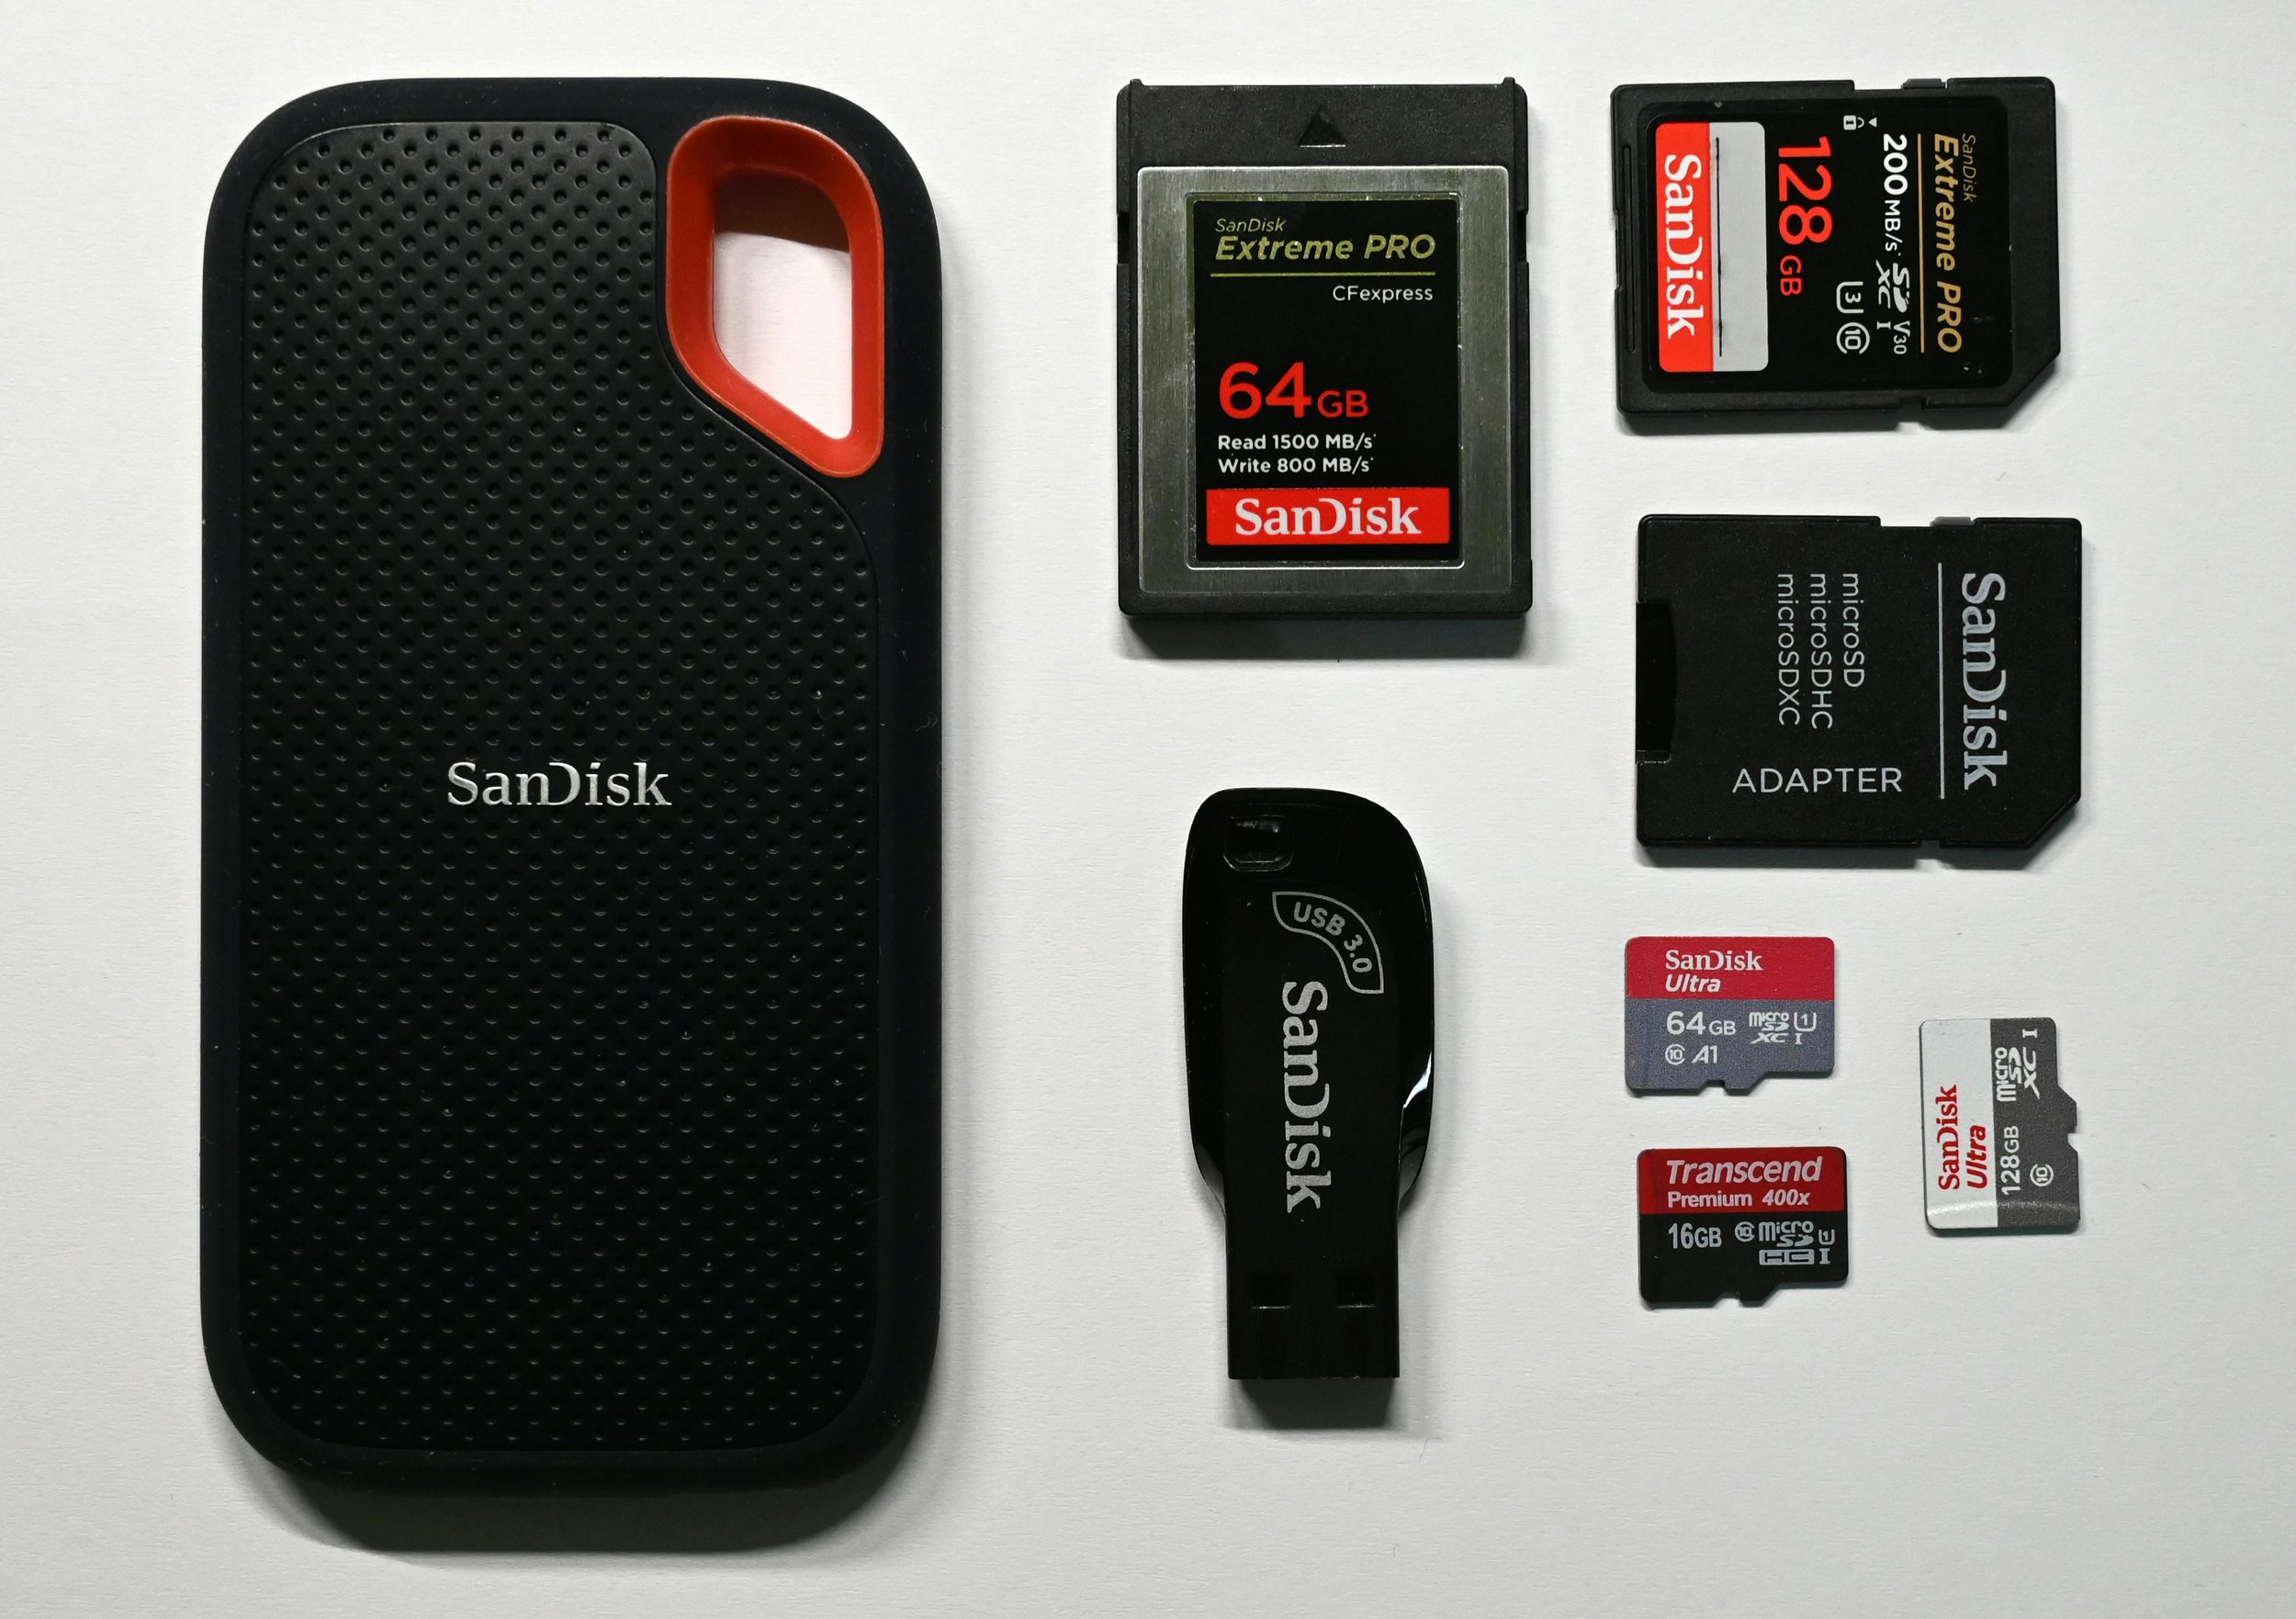 Photo by Lc on Unsplash
WD My Passport Wireless SSD
The drive that started all this.
For reference · No longer available newFor several years, the WD My Passport Wireless SSD was the best solution for laptop-free photo backup on the road. Insert an SD card into its built-in slot and it imported automatically — no phone, no hub, no steps. Small enough for a jacket pocket, rugged enough for travel, with a 6,700 mAh power bank and wireless file access via the My Cloud app as bonus features.
It wasn't perfect. The folder structure for imported files was six levels deep, preview generation was slow on large imports, and the included cable was frustratingly short. But for the workflow it offered — one device, one button, done — it was genuinely the best thing in its category.
One-button SD card import. No phone required. Built-in power bank. Wireless file access via iOS/Android app.
Six-level deep folder structure. Slow preview generation. Short cable. $199–$799 USD depending on capacity.
The WD Passport Wireless SSD, LaCie DJI CoPilot, Gnarbox, and NextoDI have all been discontinued or are no longer available new. The market moved on — and the USB-C hub method above is genuinely the better workflow anyway.
How I built the perfect inconspicuous camera bag.
Travel light, stay invisible. My DIY approach to a camera backpack that doesn't scream "expensive gear inside."
Read the post →Ottawa & Gatineau portrait photographer.
I travel light so I can show up anywhere — and bring the same care and craft to every session. If you're looking for a portrait or headshot photographer in Ottawa or Gatineau, let's talk.
See the work →I travel light so I can focus on what actually matters.
Portrait & headshot sessions in Ottawa & Gatineau · 17+ years · Award-winning